

Over the years, I’ve tried and tested a lot of chalk art materials and discovered quite a few favorites along the way! Whether you’re a street painter, pastel artist, hobbyist, or just curious about getting started, I’ve put together a collection of my go-to tools and supplies, along with some budget-friendly options for beginners. You’ll also find a few fun gift ideas for the creatively inclined person in your life!
As an Amazon Associate, I earn from qualifying purchases.
Pastels
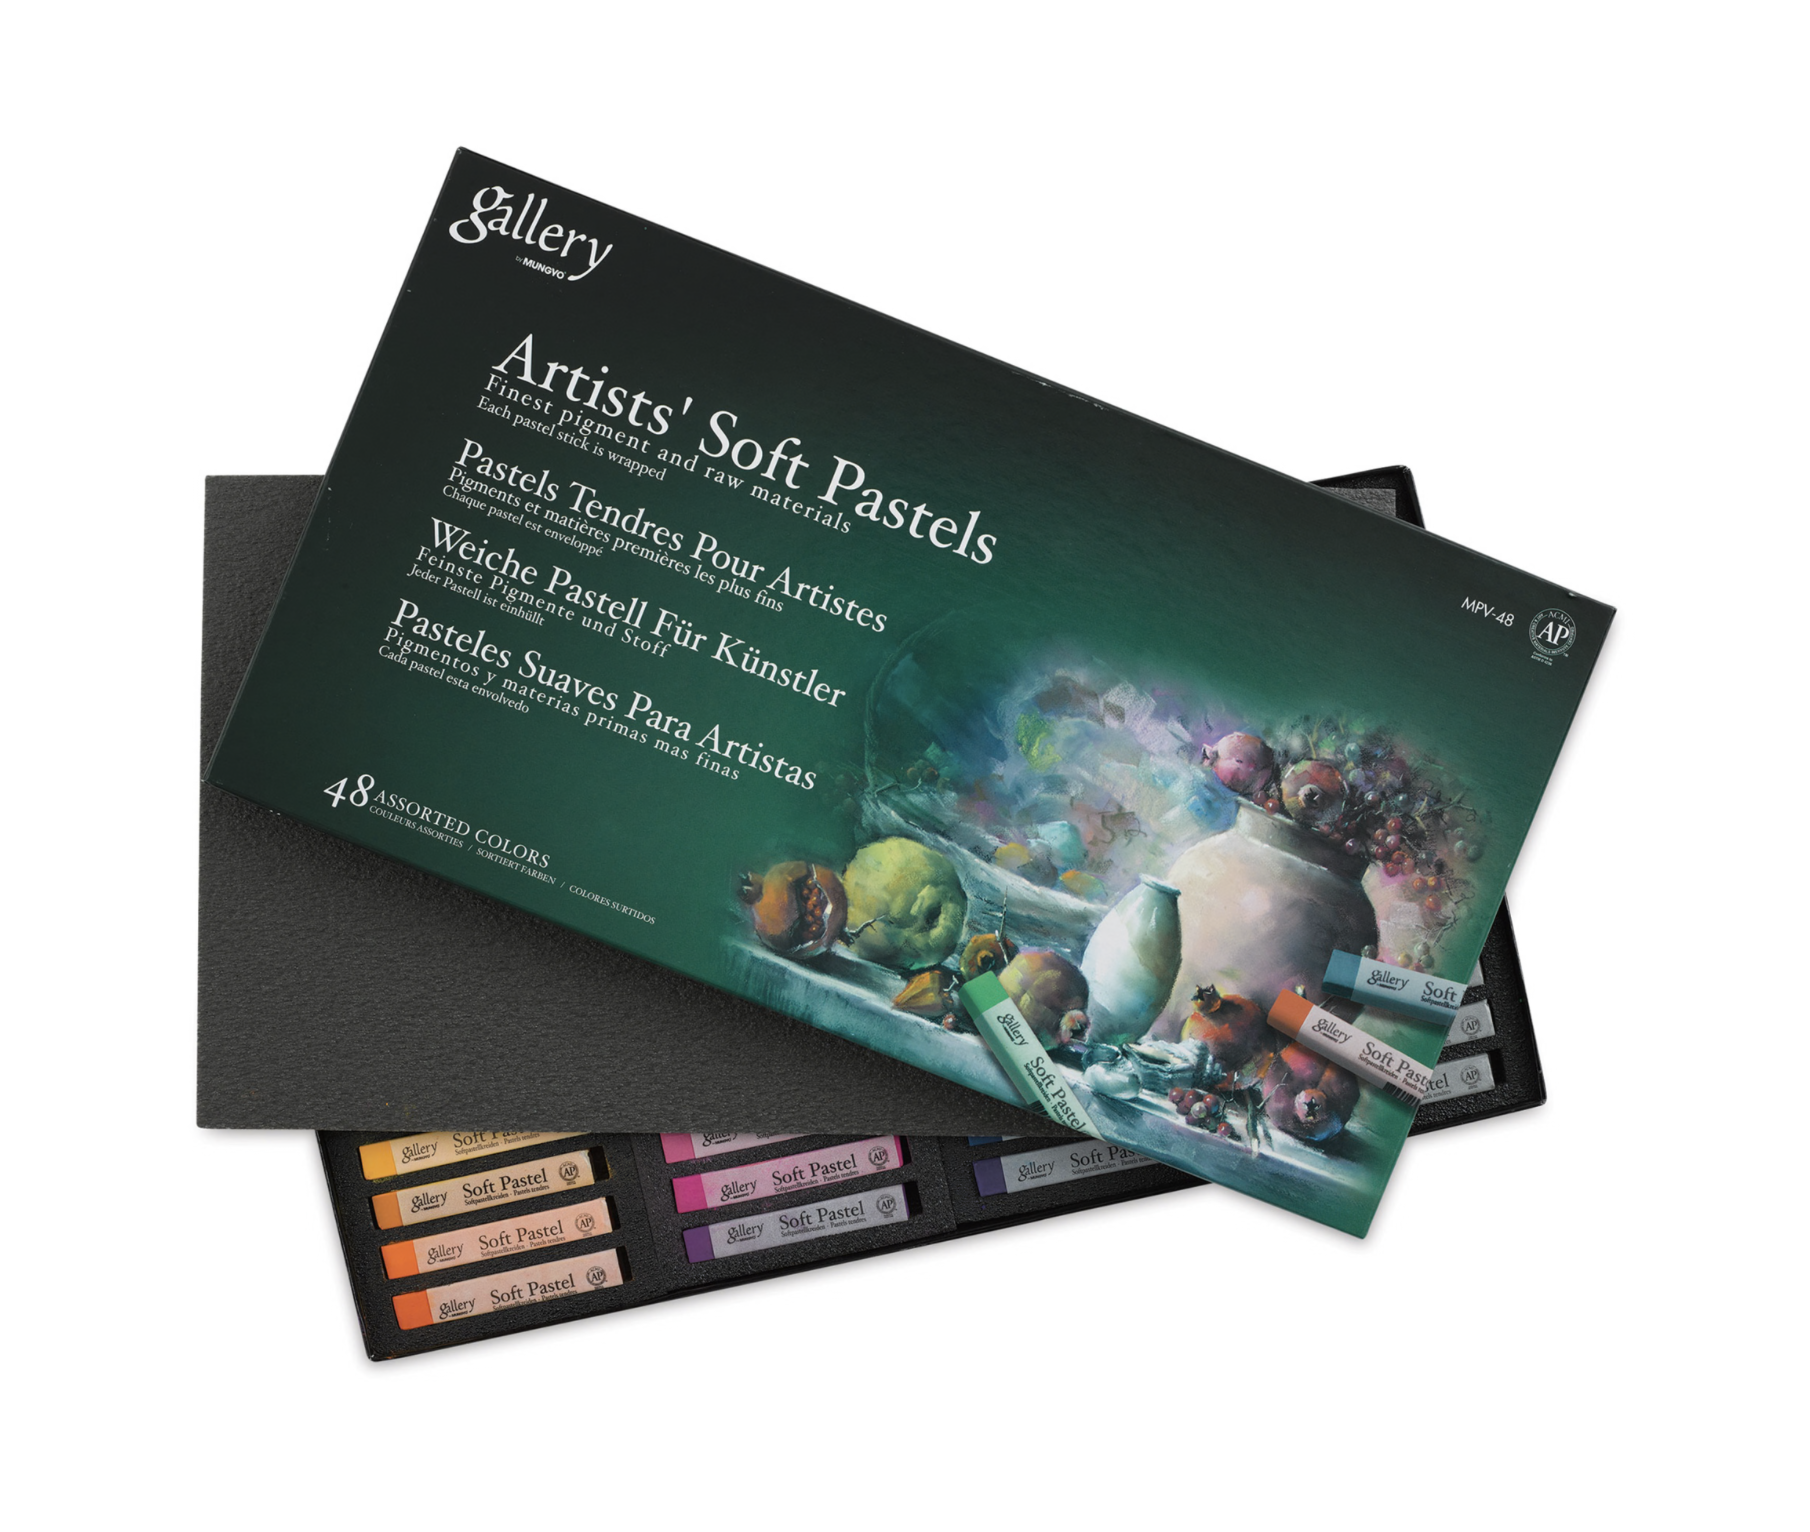
Mungyo Gallery Artist Soft Pastels - This set is vibrant and budget friendly. These pastels are nice and soft. They layer and blend beautifully. Great for more detailed work and a wonderful set for beginners.
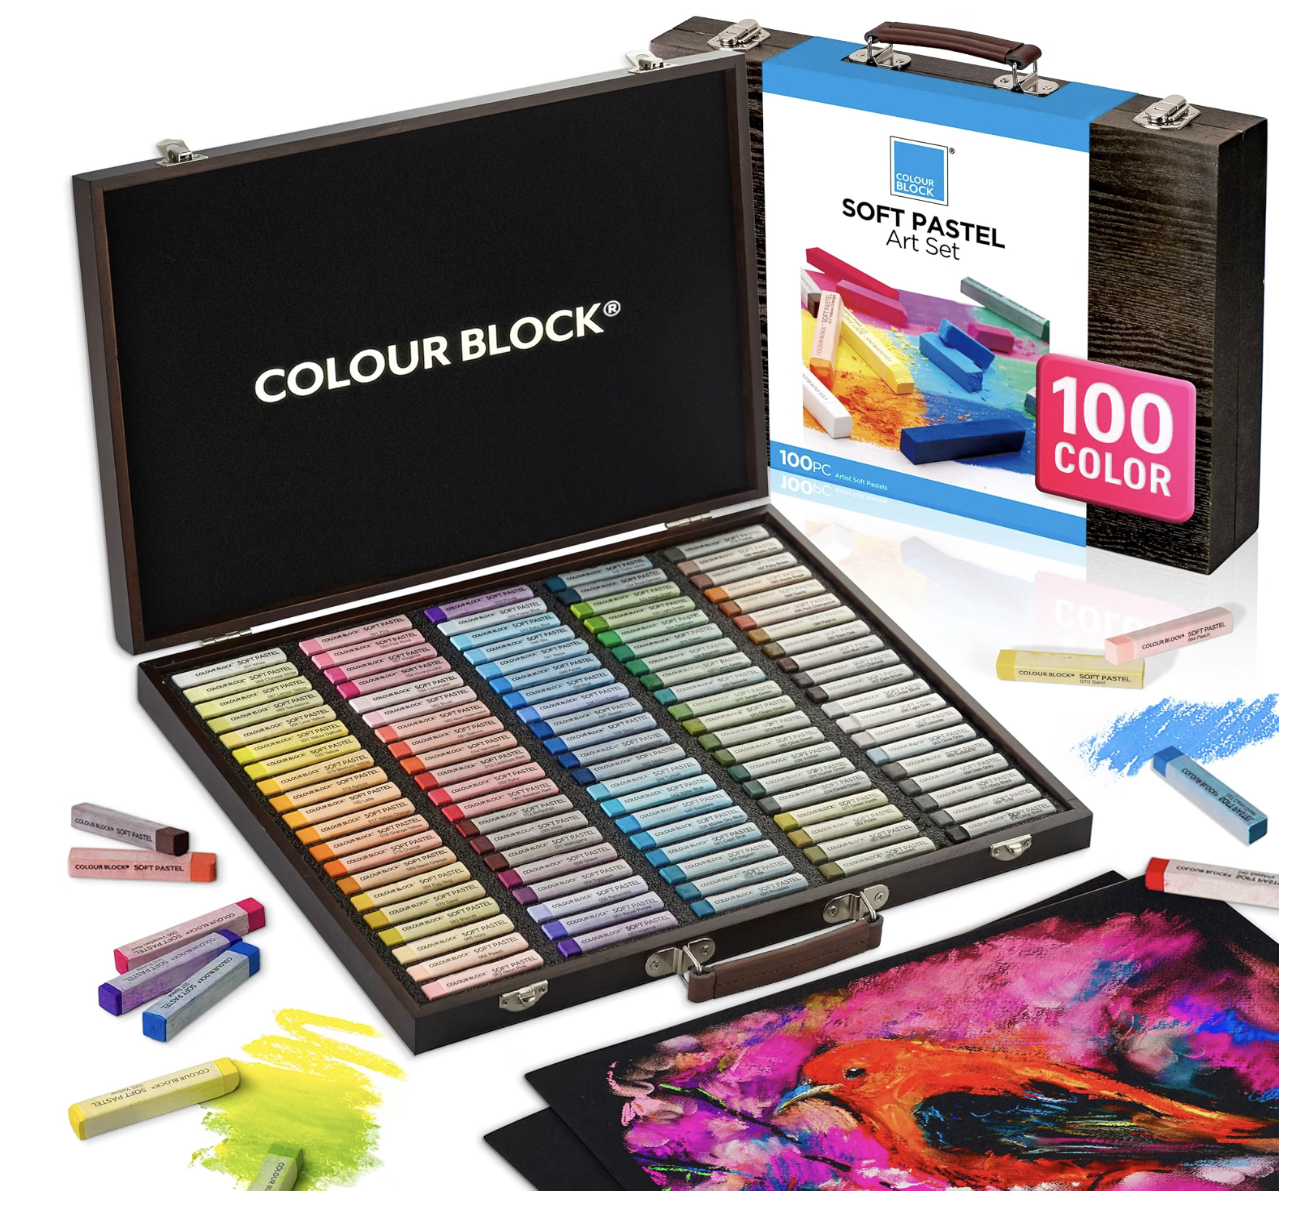
Colourblock Soft Pastel Gift Set - This set of 100 soft pastel sticks makes the most thoughtful gift for the artist in your life. The color variety is superb. These are soft, vibrant and delightful for working on small details or blending into larger areas. They also offer smaller sets for a lower entry point investment.
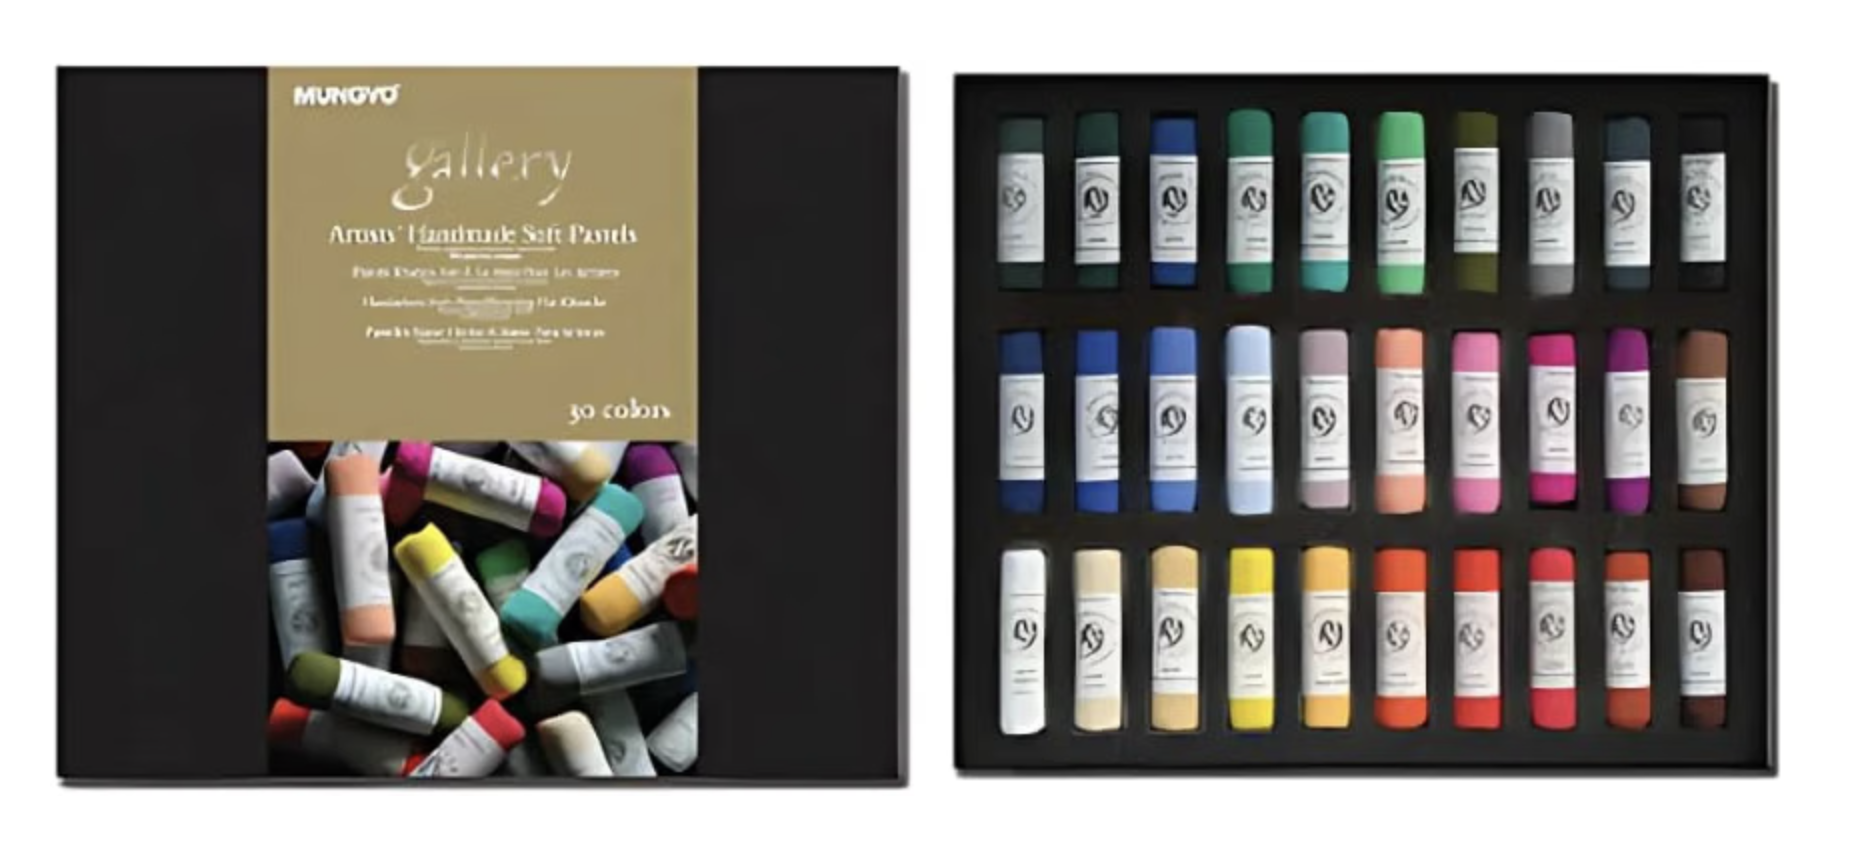
Mungyo Handmade Soft Pastels - Similar to the Artist’s set, but with a softer pastel consistency. A little goes a long way, especially when blending into your base layers. These are a budget-friendly option for artists looking to expand their collection, experiment with color, and build their pastel skills without a big investment.
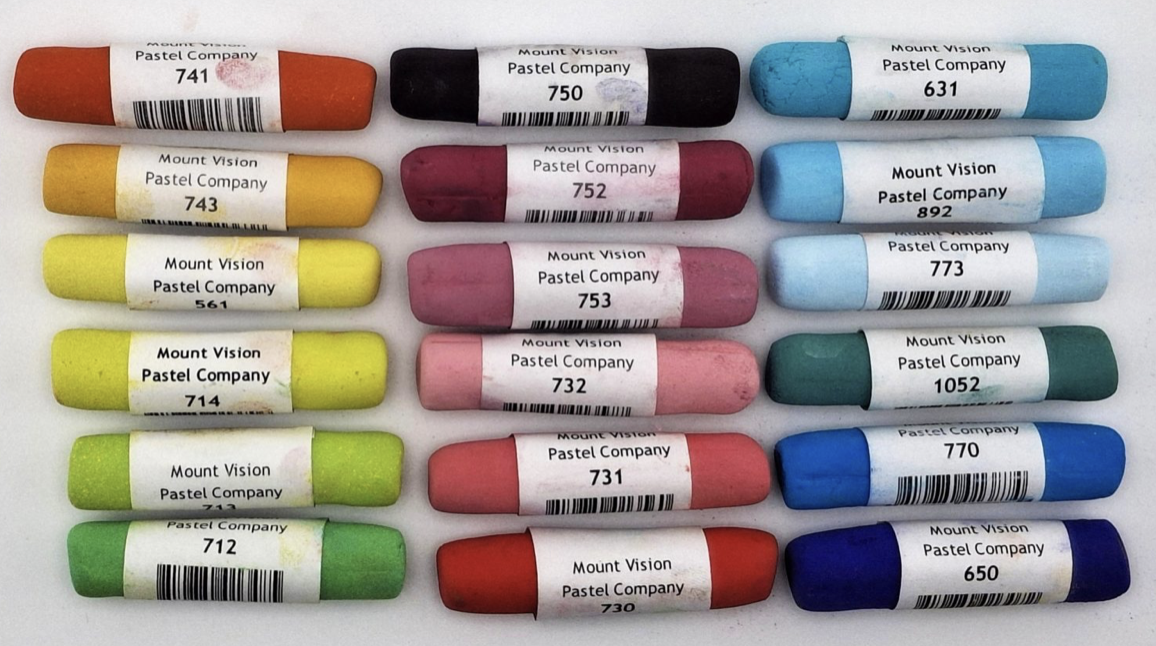
Mount Vision Pastels - Buttery soft and highly pigmented, these are the cream of the crop for professional artists. I can’t recommend these enough.
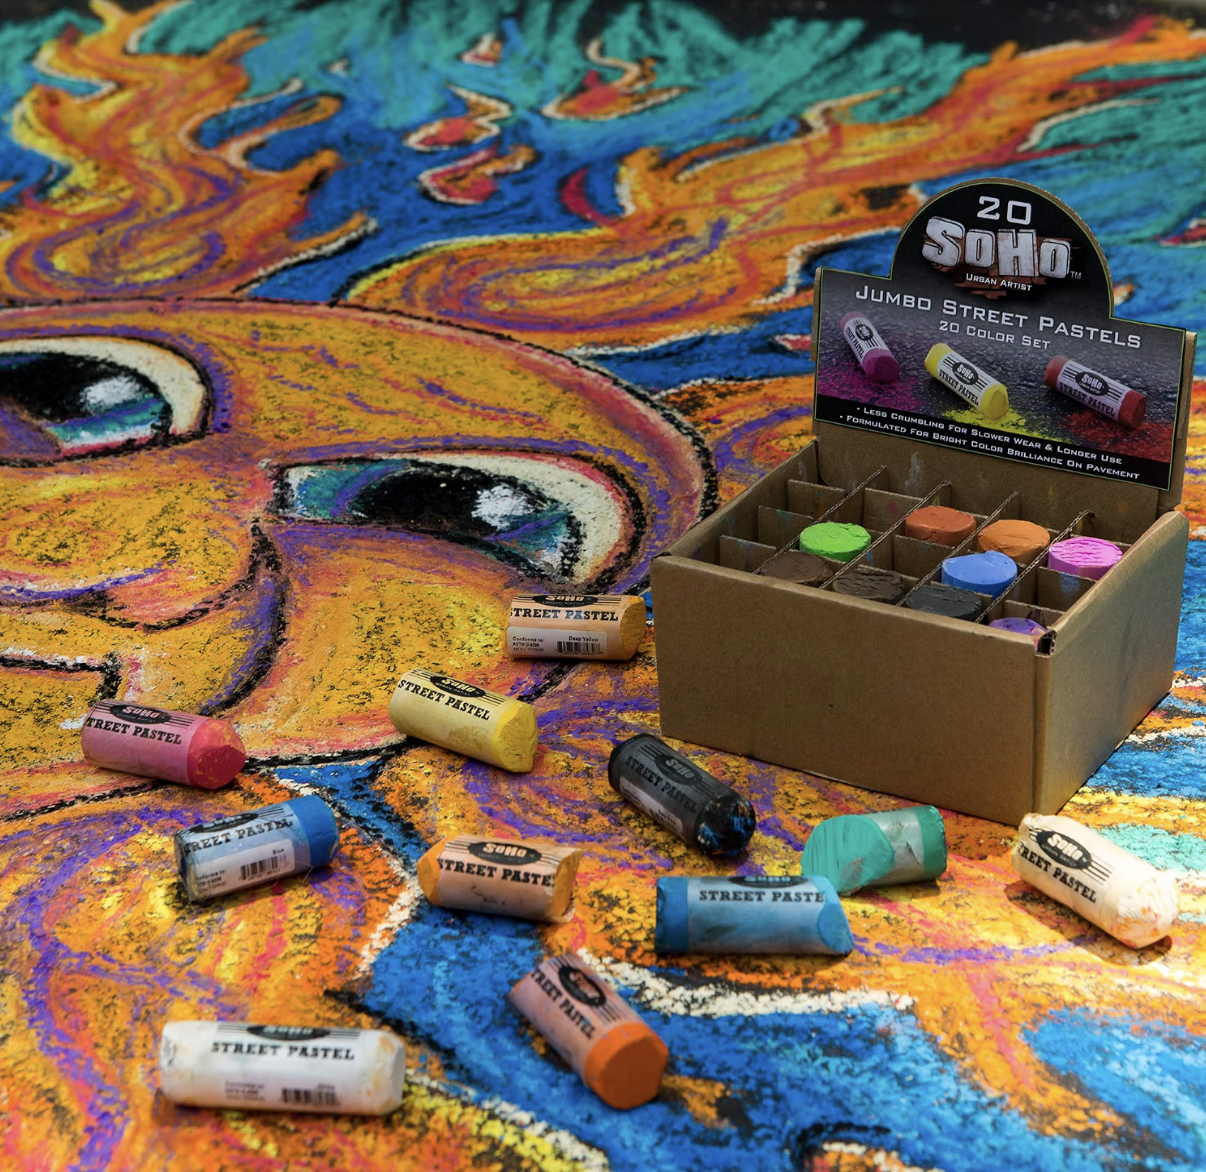
Soho Street Pastels - These are a much larger and harder pastel stick making them perfect for covering larger areas on the asphalt and concrete. You can blend into these easily with your smaller, softer pastel sticks, making these a versatile and affordable addition to your chalk kit.
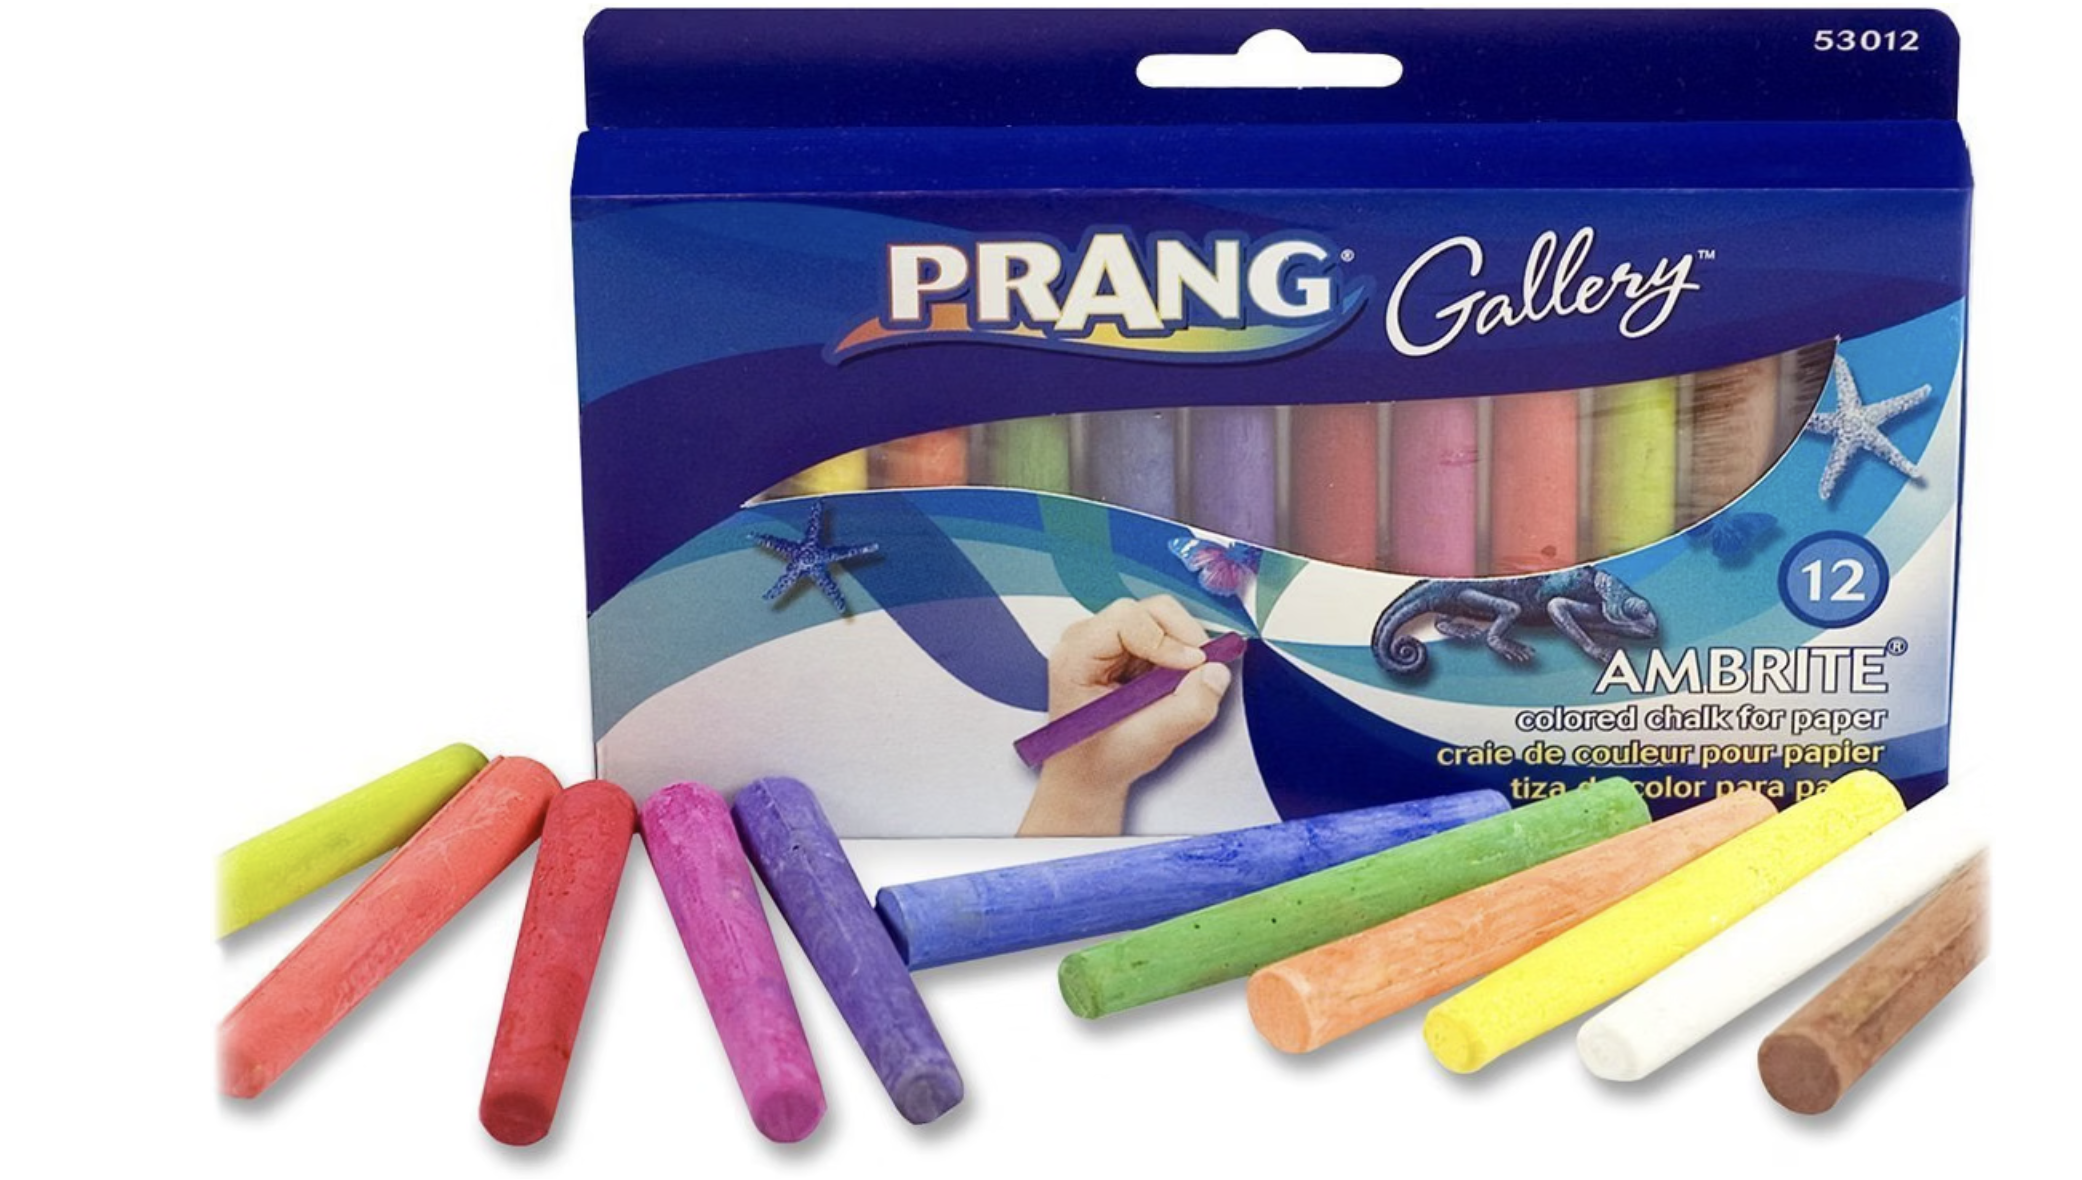
Prang Gallery Chalks - These behave much more like traditional sidewalk chalk but with the color vibrancy and saturation of a soft pastel. And at a price point of around $5 a box, they’re great for students who are looking for something beyond the sidewalk chalk they started with.
My Go-To Tools & Supplies
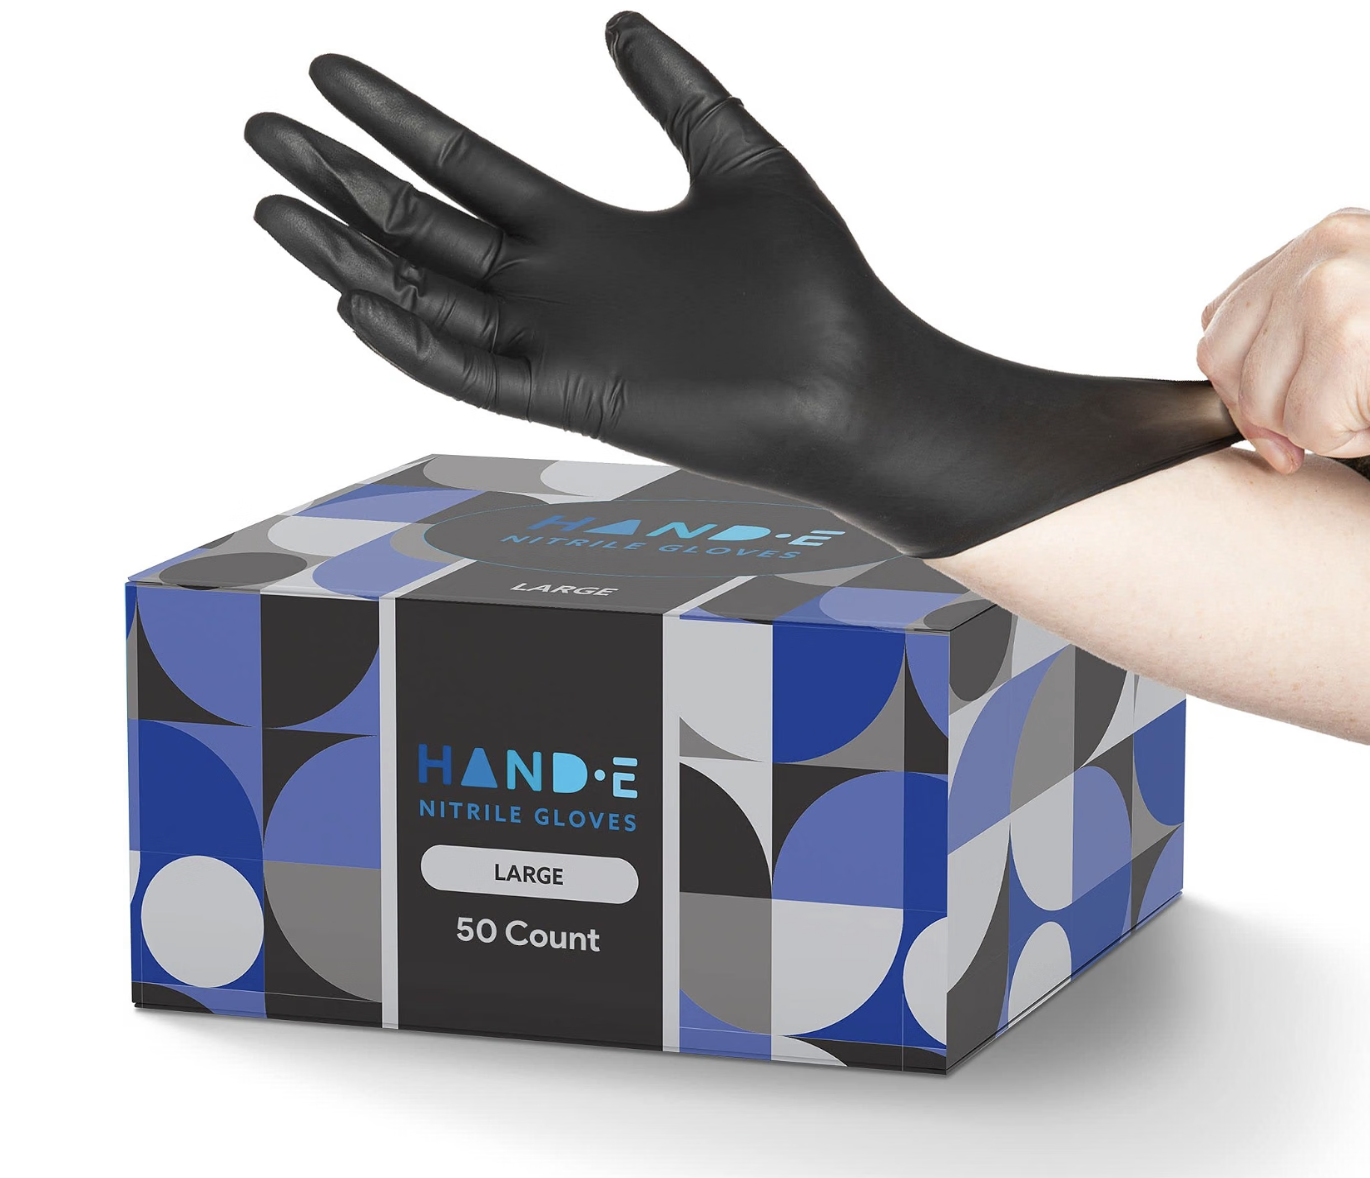
Nitrile Gloves - This is a personal preference, but one I swear by. I don’t love the way the pavement and concrete tear up my fingers and palms when blending, so I use these gloves to protect my hands and help me blend my pastels well. At just around $7 a box, these last me a full season.
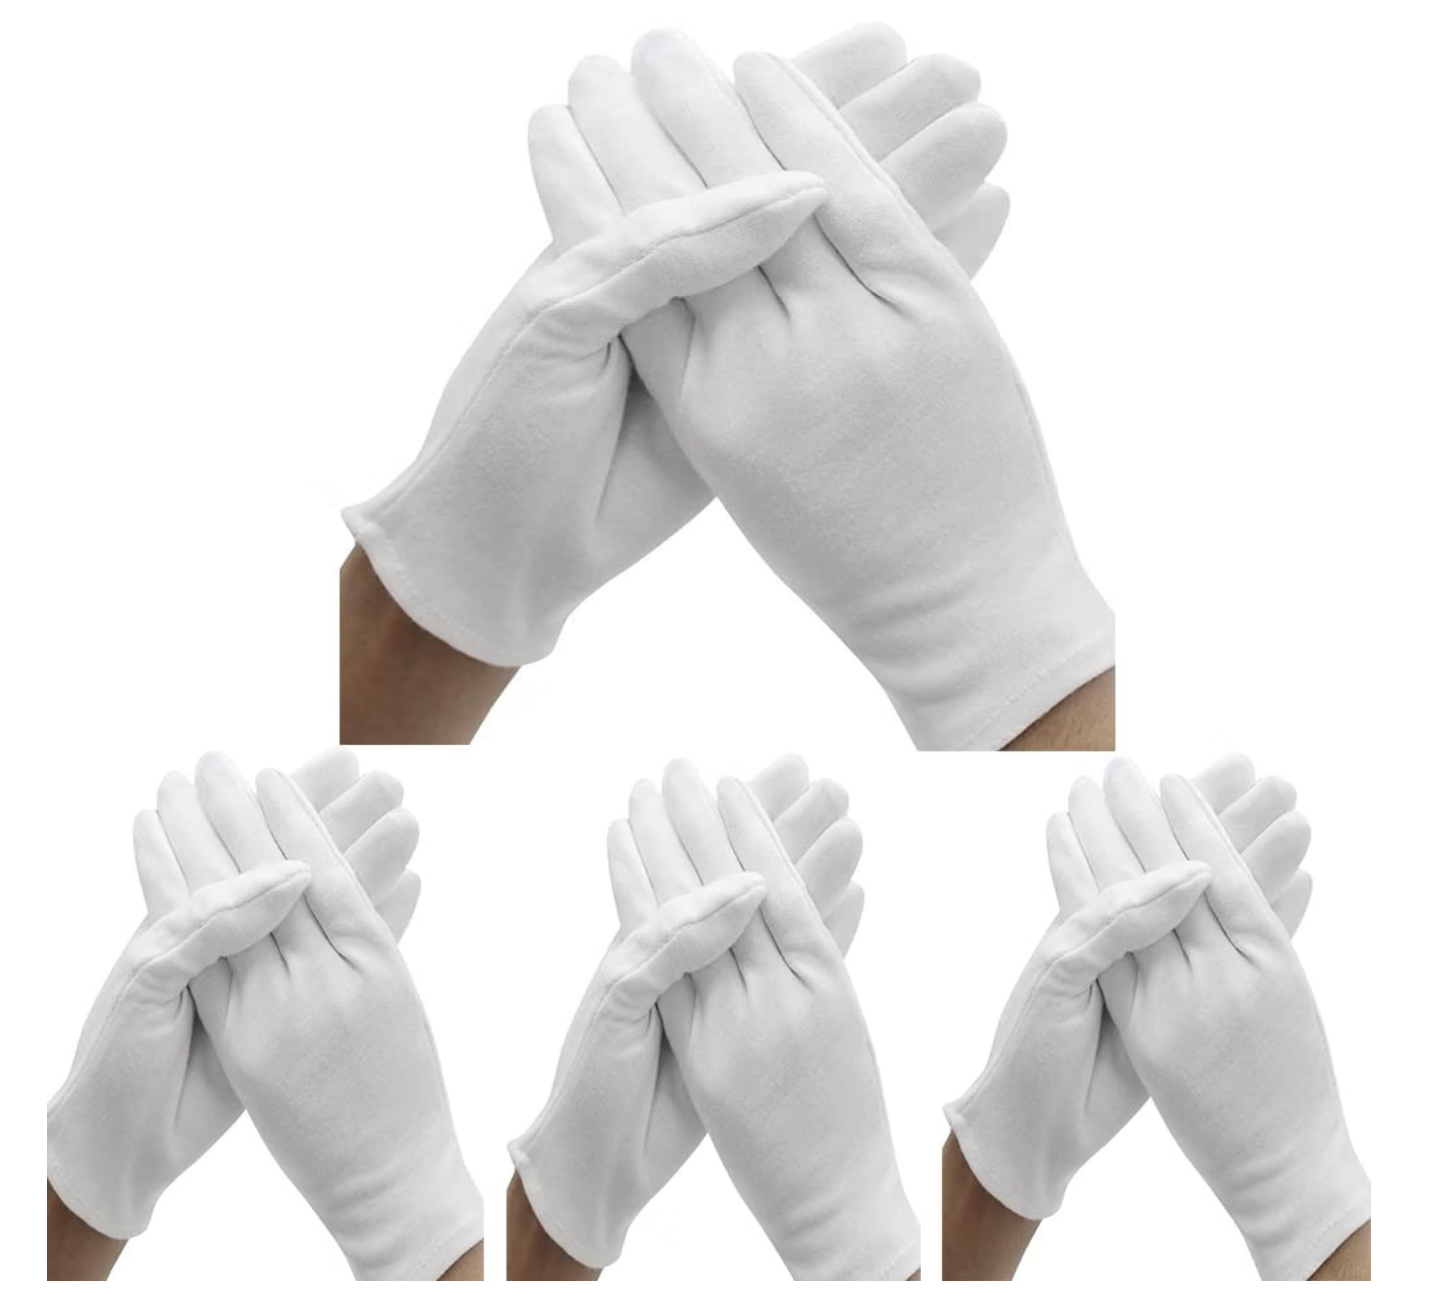
Polishing Gloves - These were a new addition to my go-to’s this year. I layer them underneath my nitrile gloves. They absorb sweat on those hot sunny days and minimize how often I need to switch gloves throughout the day. Even more, they’re washable and reusable.
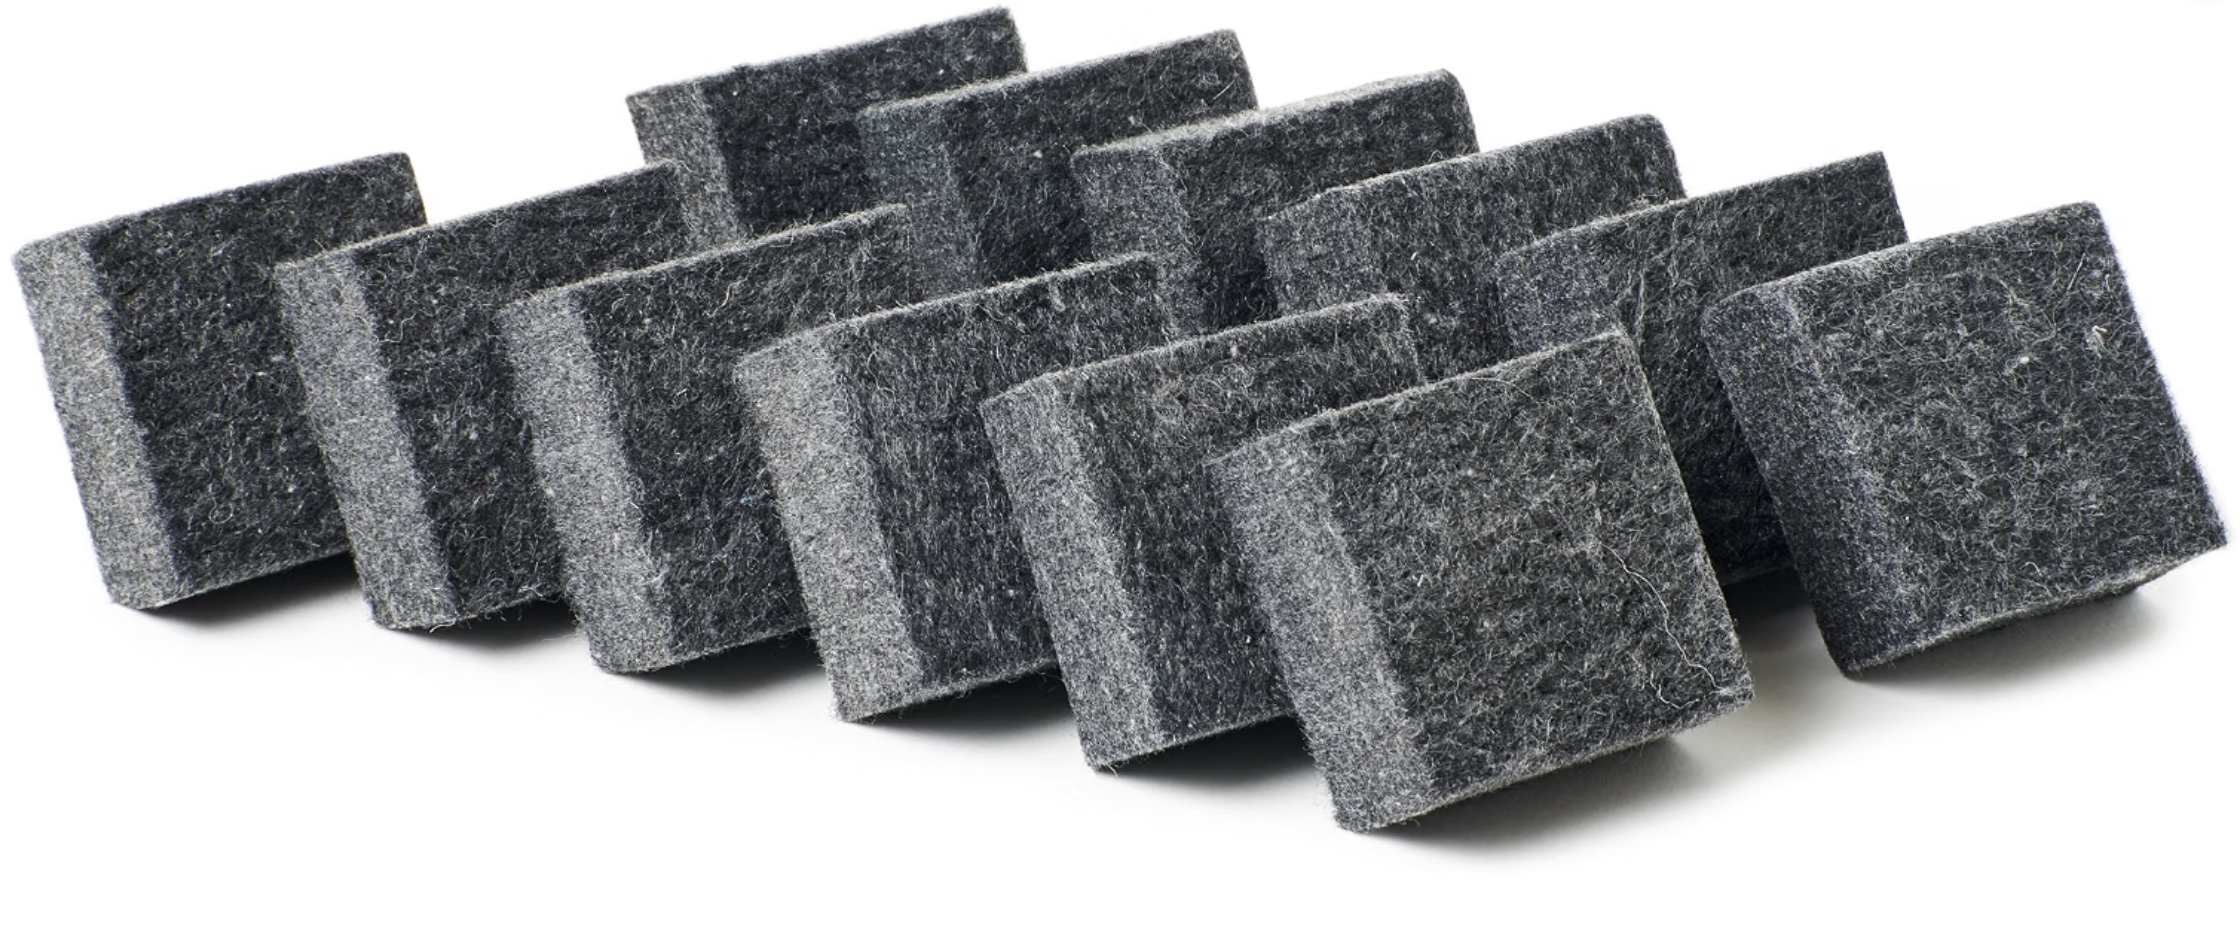
Felt Squares - Another tool I added to my toolbox this year, and one I absolutely love for blending! One of the best features is that you can peel away a layer of felt to reveal a clean surface or separate a smaller piece to fold and use when blending more detailed areas.
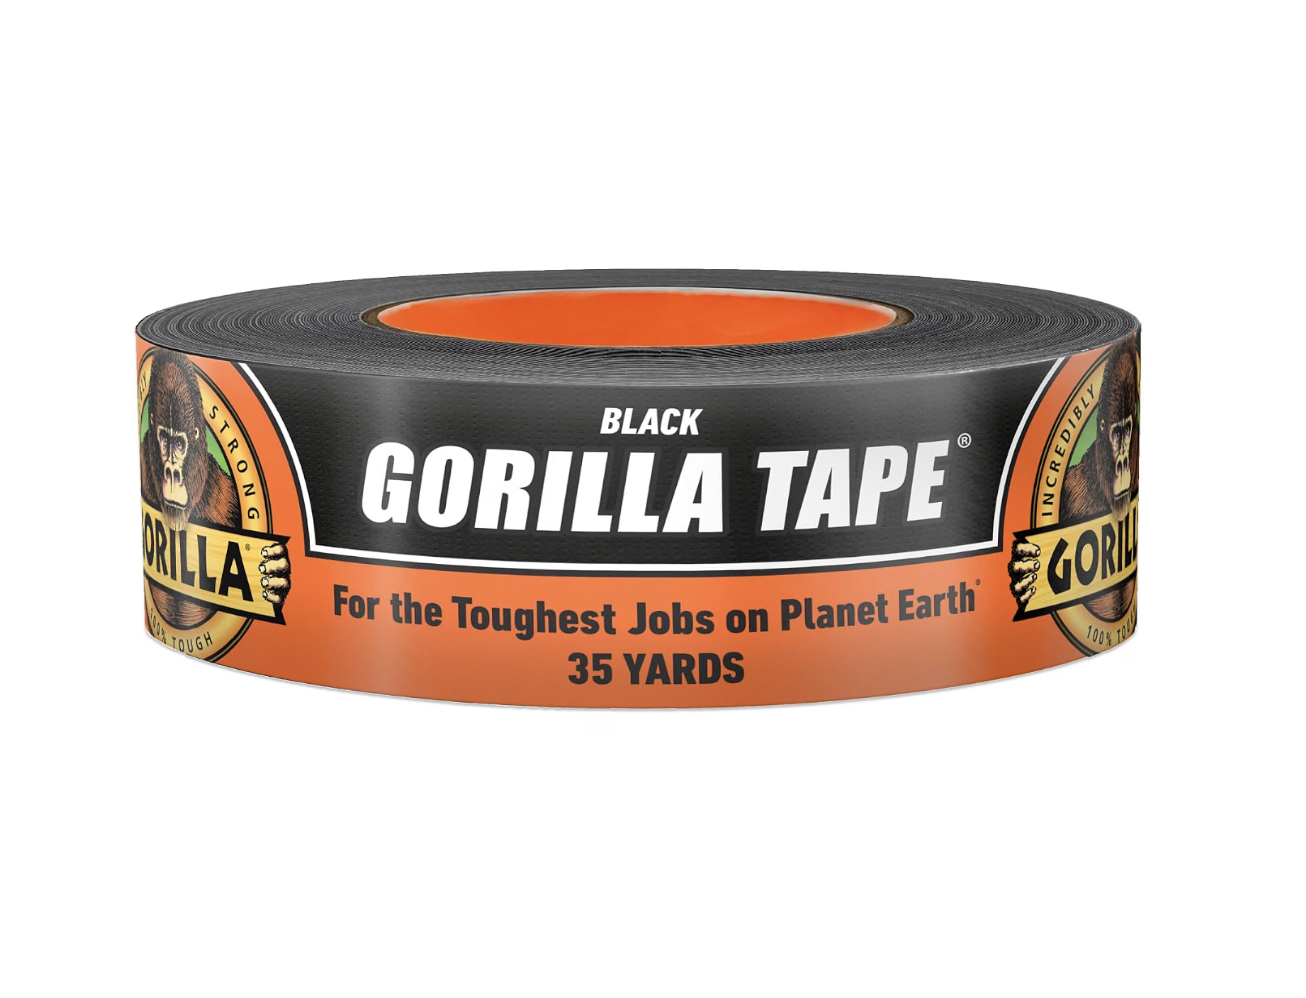
Gorilla Tape - The best tape for sticking well to concrete and asphalt. I use this to mask off the edges of my square and to tape down my tarps/plastic in the event that rain is in the forecast.
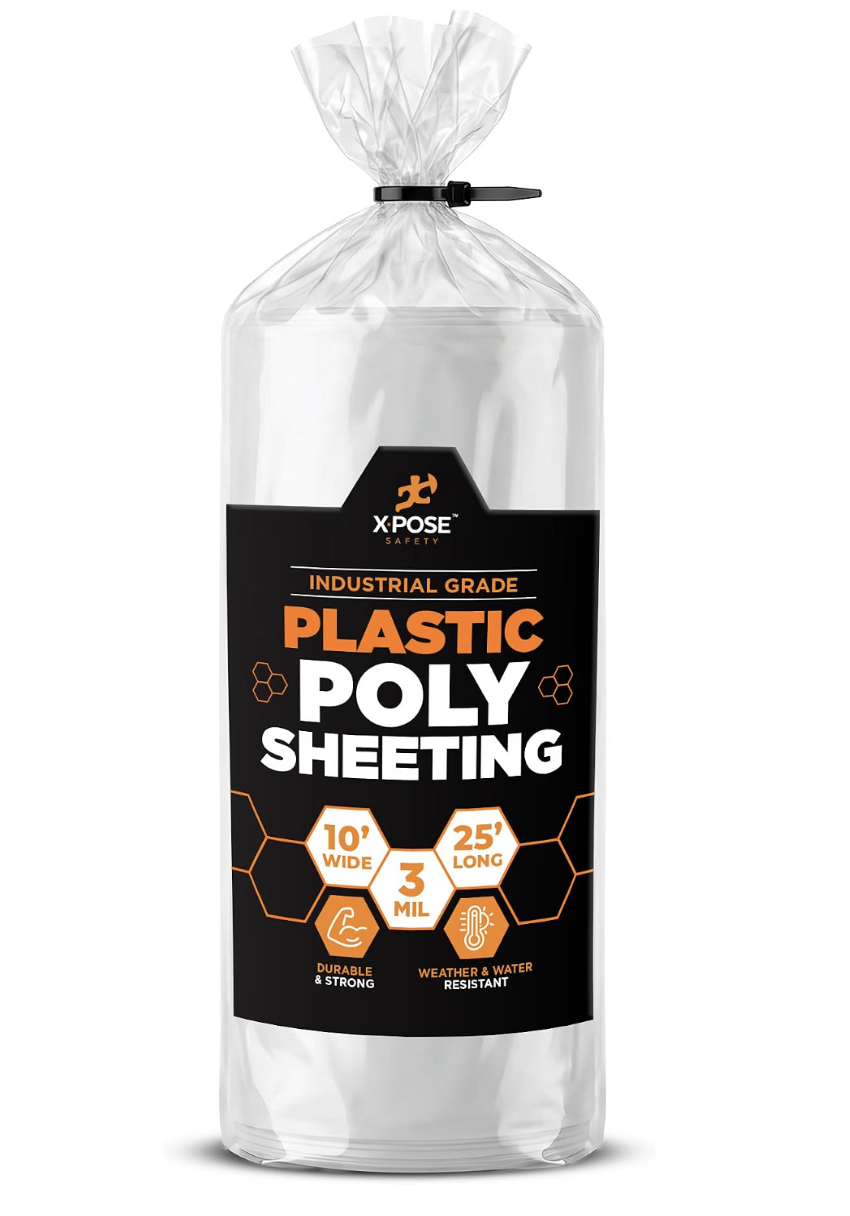
Plastic Sheeting - Helps to protect your street painting piece for multi-day festivals or in the event that Mother Nature decides to interfere with your work. (Tip - lay some cardboard down between your artwork and the plastic for an extra moisture barrier!)
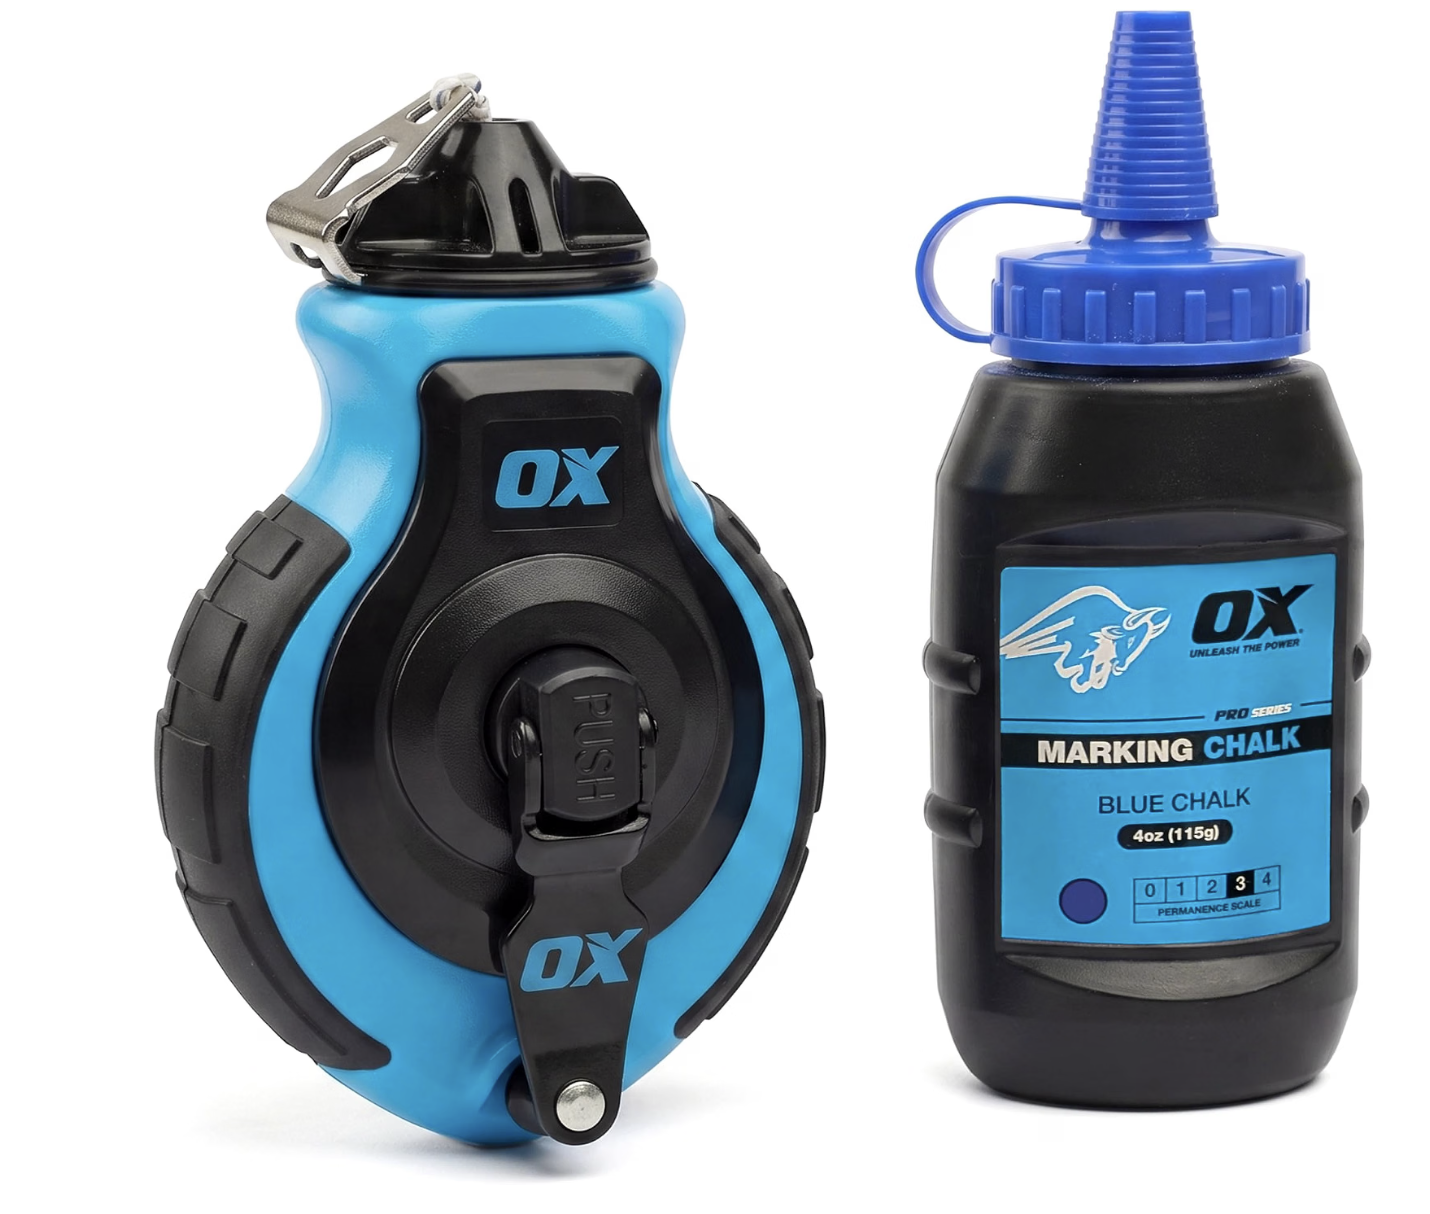
Chalk Line- If you’ve ever attempted to scale up your design for large format, you know the challenges of creating a grid quickly and easily. This chalk line helps you quickly and easily snap your grid lines into place without needing to draw along the edge of a tape measure.
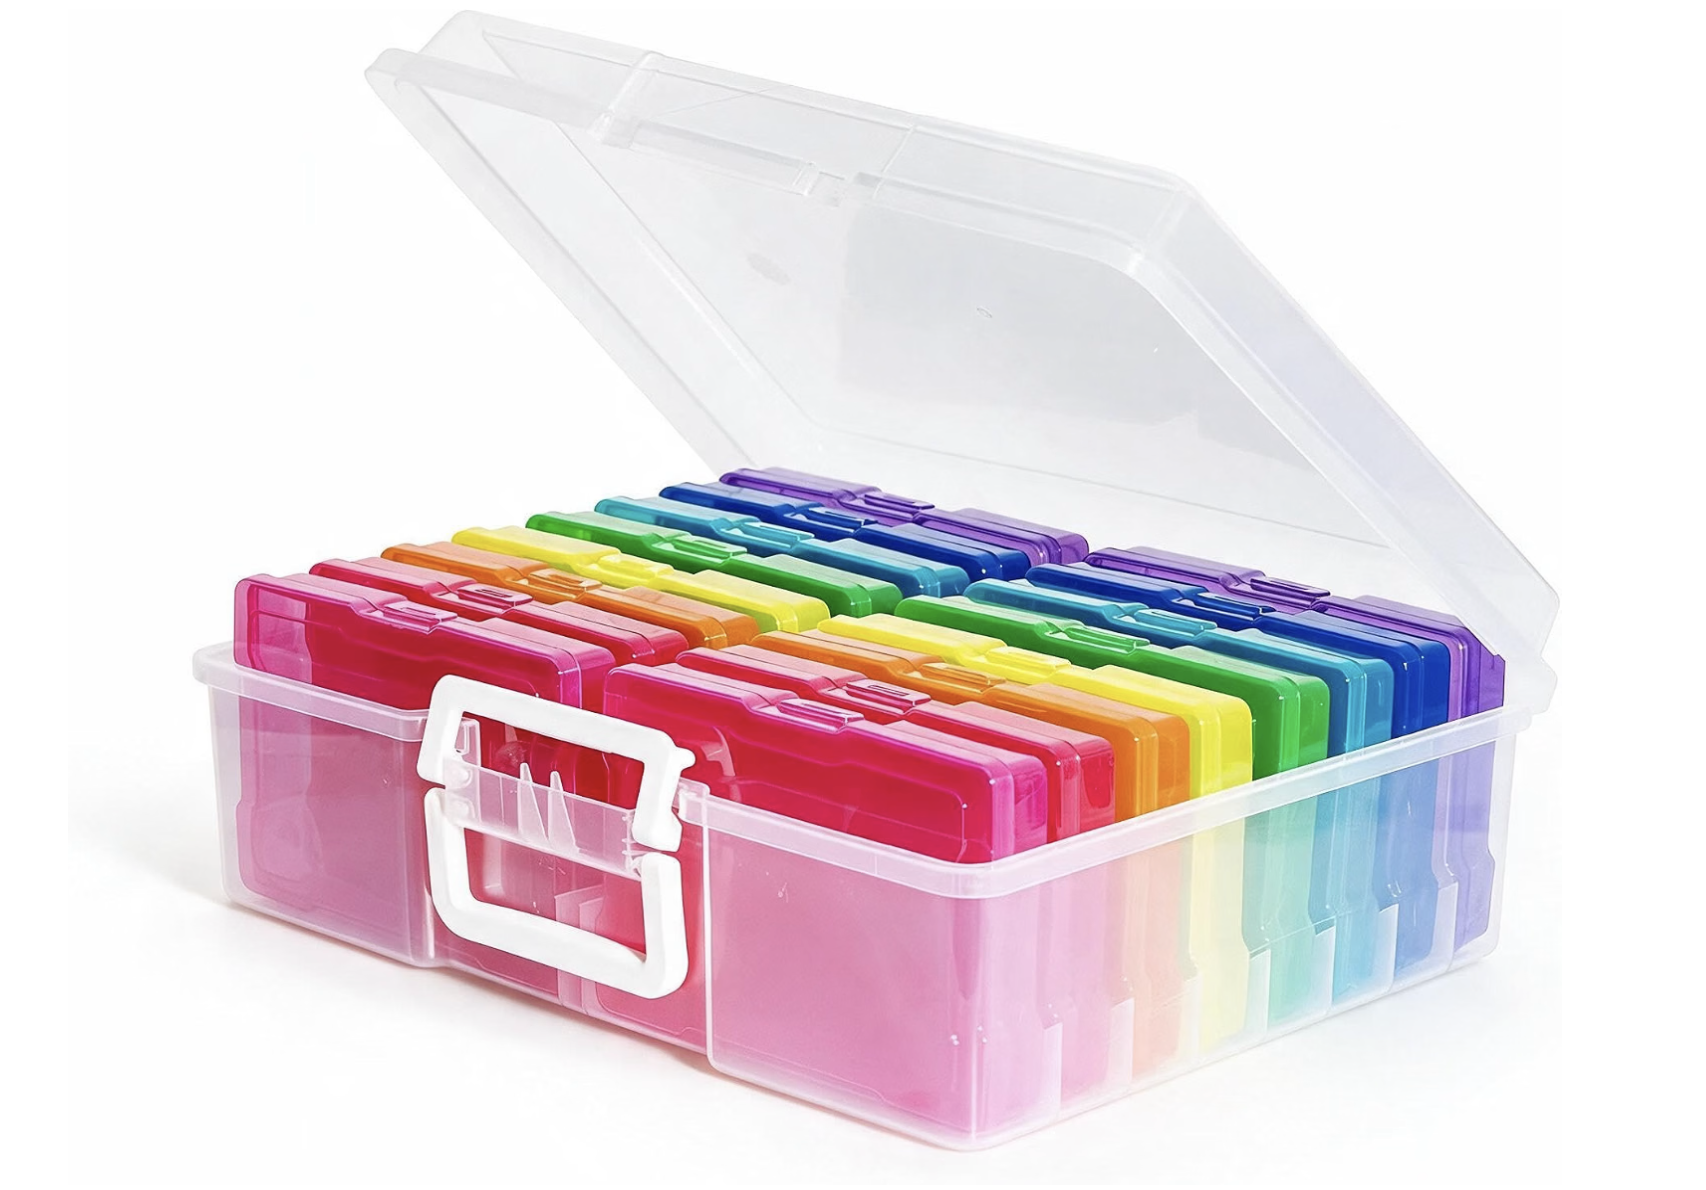
Photo Storage Box - My storage hack. I line each container with foam sheets (recycled from my pastel shipping boxes) and I use these containers to store my pastels. I can organize them by color too!

Metaquest VR headset - My go-to tool for efficient design transfer. I use my Metaquest with the Stencil VR app (not sponsored) to “project” my image onto the pavement so I can scale and transfer my design to the pavement quickly. This is a controversial approach but it’s a game changer for artists (this topic alone probably deserves its own blog post!) This tool has sped up my workflow exponentially and lets me spend more time fleshing out the details of my piece.
Necessities
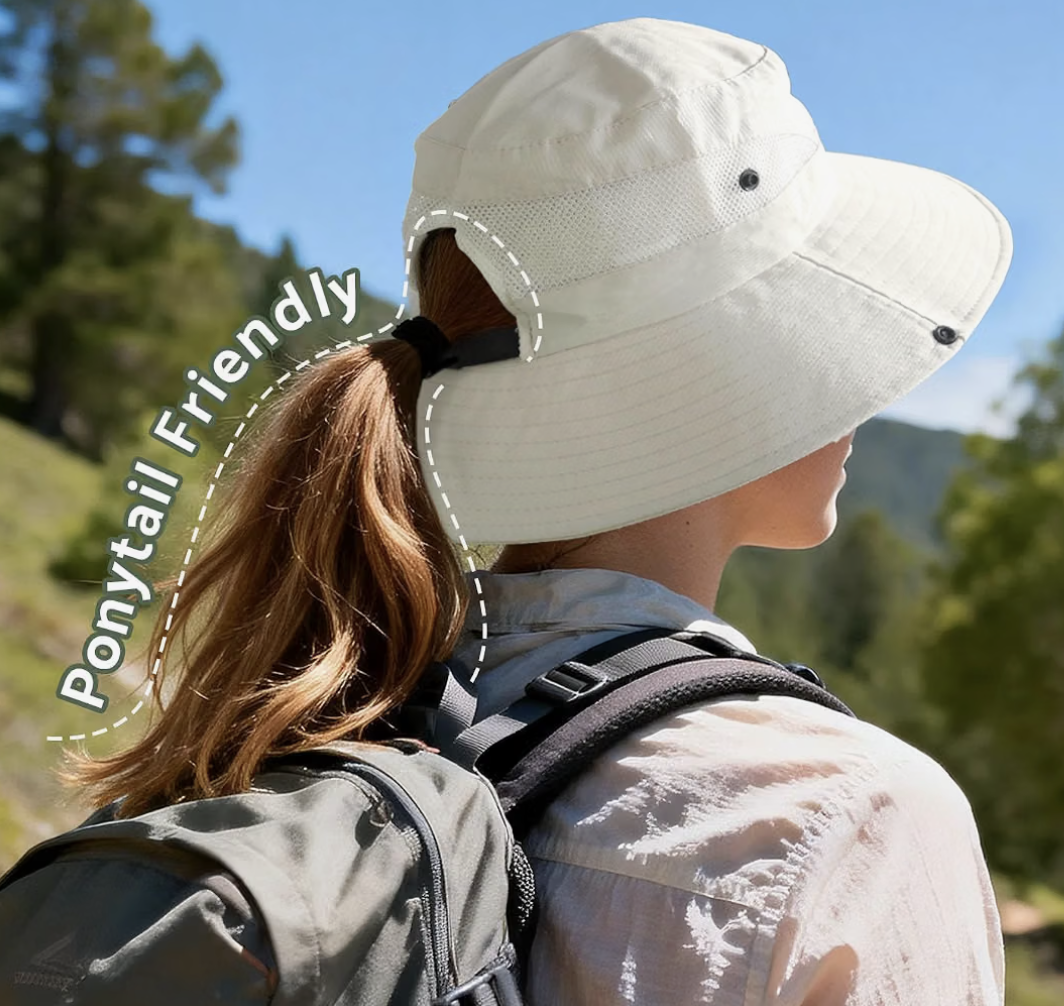
Sun Hat - long days in direct sunlight can be brutal on the body without some protection. I like these sun hats for blocking the sun from my eyes and my neck. Bonus points: you can put your ponytail or messy bun right through the back.
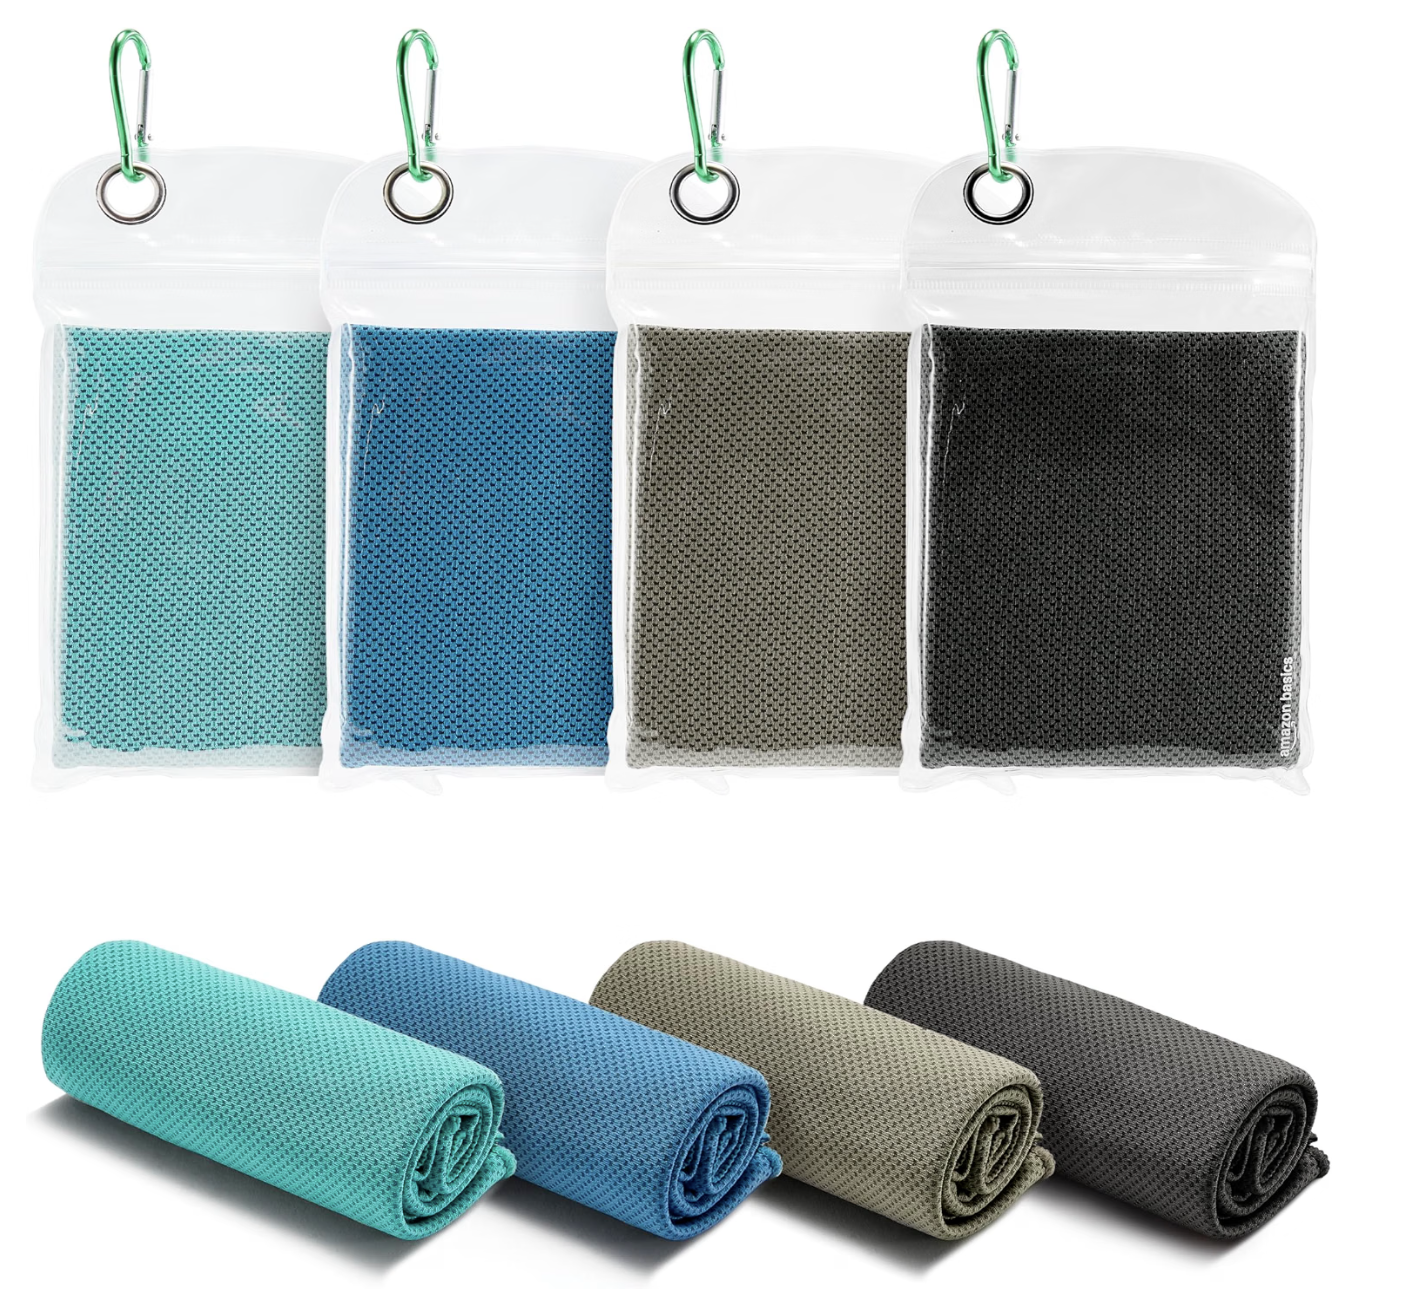
Cooling Towels - Another great way to stay cool during a long day in the sun. Soak these in water and store them in your cooler to keep them cold and ready when you need to cool off.
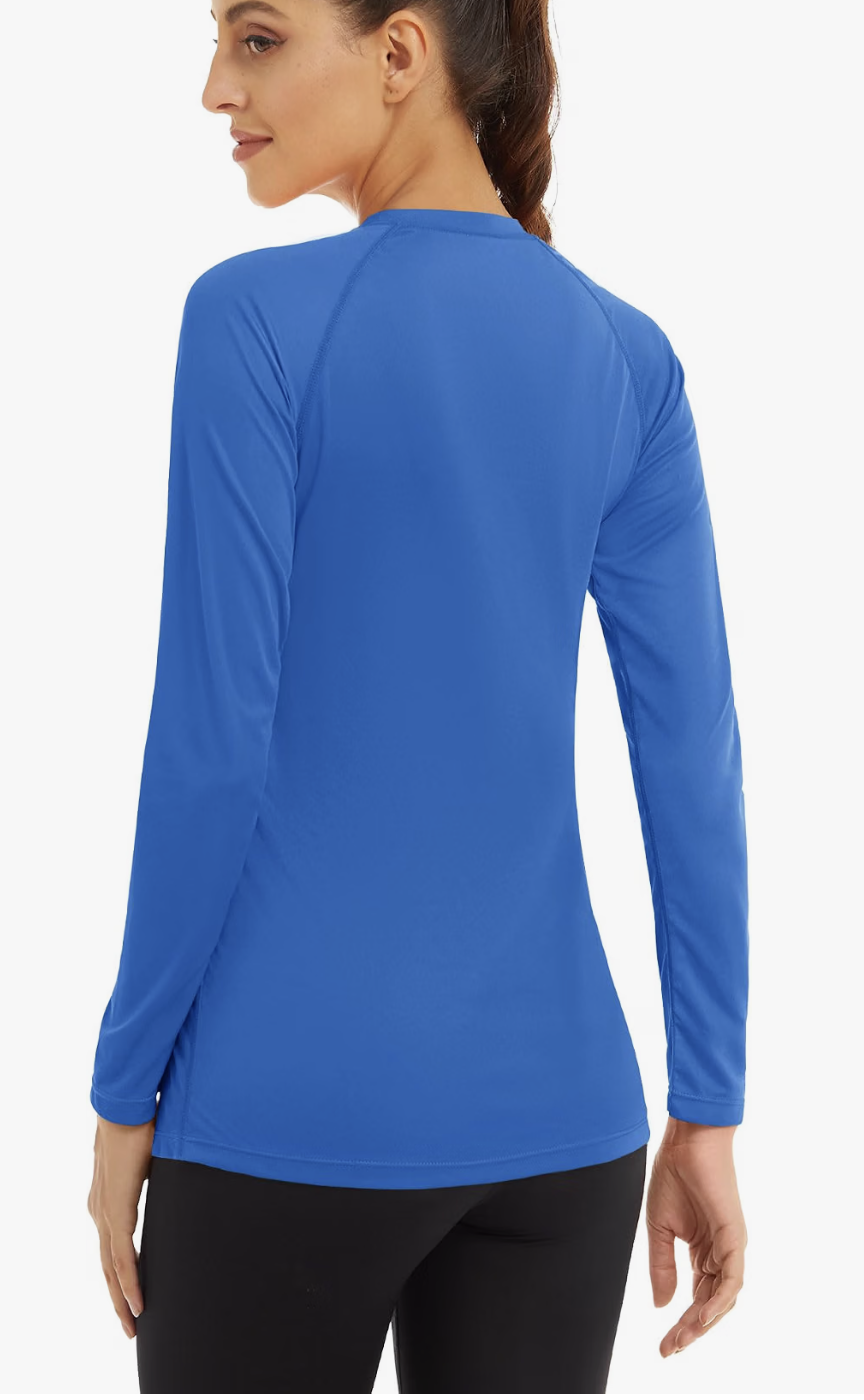
Moisture Wicking UV Long Sleeve Shirt - Keeps the sun off my arms and helps prevent sunburn.
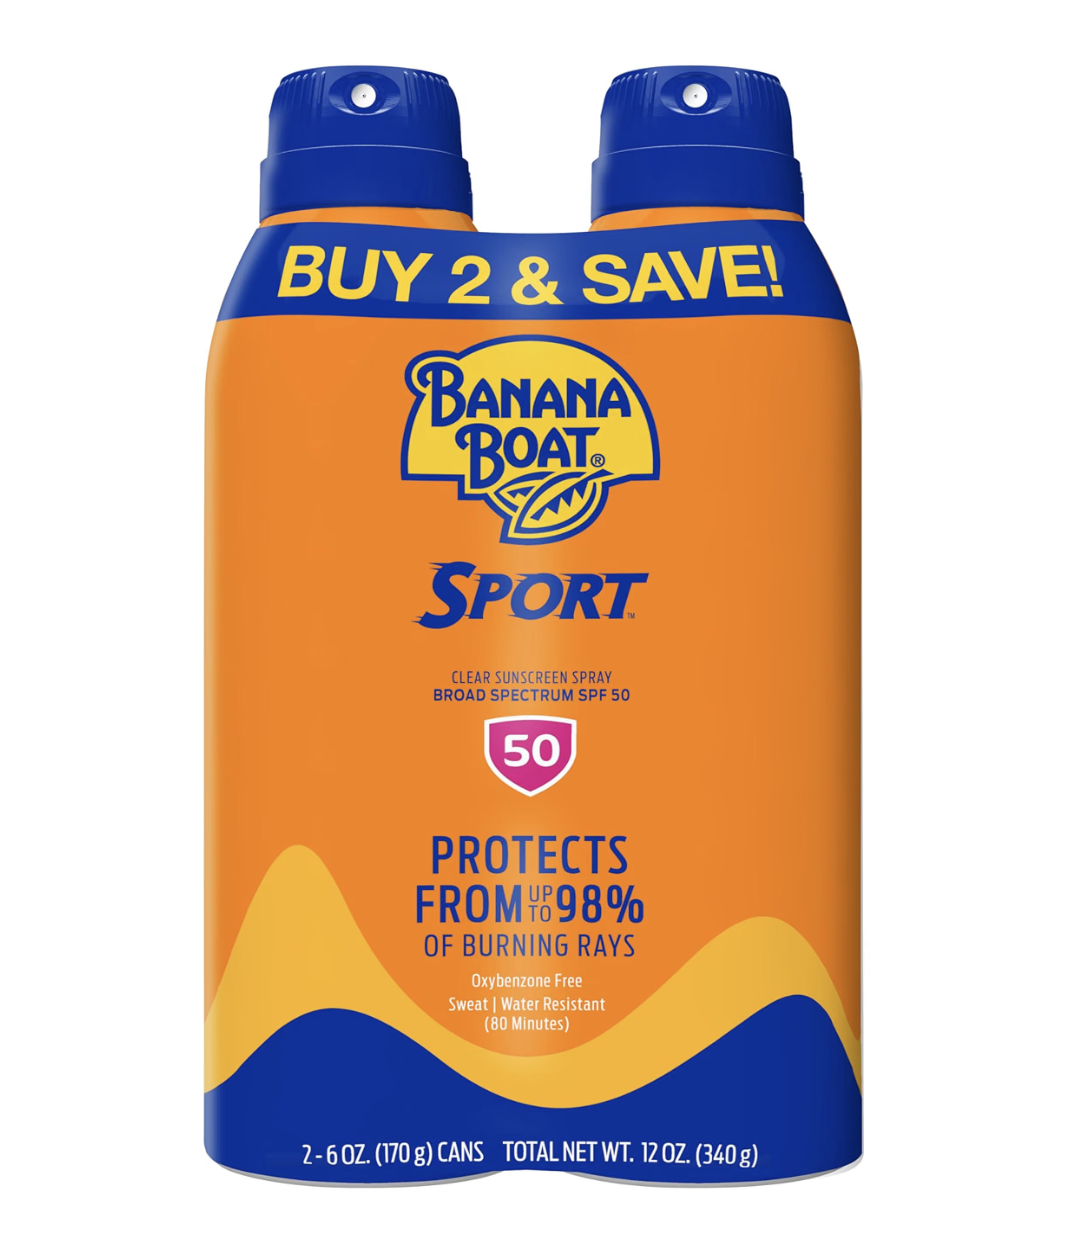
Sunscreen - everyone has their preference but this has never failed me yet. My pale skin needs a strong SPF and I like the spray-on kind for quick mid-day reapplications.
I hope this list has given you some inspiration, helped you discover a few new favorites, or at least given you a good starting point for building your own collection of chalk art supplies!
Have questions about a particular product, want to share a favorite I’ve missed, or just want to talk chalk? I’d love to hear from you! Please Drop me a note with your thoughts and questions. Happy chalking!
